Visar inlägg med etikett headgear. Visa alla inlägg

2017-04-11

15 for 15: Headgear

Lately I've started on the HEADGEAR portion of the 15 for 15 challenge I've set myself.. I've made one list of things I've thought of.. this might not be the final list though.. I planned on making a D-veil in this wool.. but instead I cut out a round one..


1. THE BIRGITTA CAP
 
1. Cap from Maciejowski bible 1240s
2. 3 more caps from the Maciejowski bible 1240s
3. Detail from Tacuinum Sanitatis 1370-1400
4. Birgitta's cap during conservation after the silk cover was removed, as published by Aron Andersson and Anne Marie Franzén in Birgittareliker.

Birgitta caps can be seen in various illustrations from the middle ages. It's called a Birgitta cap due to an original medieval cap (dating between 13th and 16th century) kept at the Birgittine Convent in Uden, The Neatherlands. It is believed in belonged to the Swedish saint Birgitta.

An EXCELLENT post about the cap is on Isis Sturtewagen's blog Medieval silkwork.

It's a VERY practical piece of headgear that keeps your hair in check (and hidden even when you have a bad hair day..) and you can pin your veils and other head coverings to it.

There are PLENTY of patterns out there, but my favourite is the one by my good friend, and textile curator at The City Museum in Gothenburg, Gunilla Andersson. (NOT to be used for commercial gain!)

 
The finished Birgitta cap with the strap long enough to go two times around my head.


The top has been sewn with a tiny running stitch. I used a black thread to gather the fabric at the bottom. (Ignore the sewing machine.. only used as a lamp..) 
Adding the strap. I made this thinner than the original since I wasn't adding any embroidery on this cap.
 
Felling all the seams (should have done this before adding the strap though..) 
The straps are tricky to get the right length.. first I measured and it was PERFECT! Sewed it together and it was too small! Added the piece missing at it was too long! Now a third adjustment and it's perfect! 

LESSONS/CHANGES
Start with longer straps and pin it the correct length whilst wearing it..
Fell the top seams before adding the strap
I will also make an embroidered version.

MATERIALS:
White 125g linen (Linnehem.se)
35/2 white linen thread Bockend (sold by me 55sek/roll)


2. THE GEFRENS
Now here's something I've been wanting to make for quite some time!!
This first version is a classic: use what you've got! (The recycle series)

First things first..
 
1. Barbara Von Erlach with daughters ca 1480 (Schilling) 
2. The Bern Chronicles vol. 3 1478-1483 (Diebold Schilling)
3. Mechthild Von der Pfalz 1452 (Hans Ingeram)
4. Can't find the original source..
5. Medieval woodcut, can't find original source..
6. Detail from "Niederwildjagd" after 1489, (Housebook Master of castle Wolfegg, South Germany). The fringe is very wavy here!

A gefrens is a head decoration often found in paintings depicting German women from the 15th and early 16th centuries.
It's basically a cord/ribbon with a fringe covering your neck from ear to ear.
A lot of my friends who make them weave the ribbon and add longer weft for where they want the fringe. I've also seen people using cords/strings and adding their fringe to that instead.

Anywho.. some years back, when my hair was still dark red and not a soft pink, I found a fringe used for furniture or tapestries.. and I thought "I could use this for a gefrens!"..
Now, 5-6 years later it finally happened!

 
Before: common wool fringe
After: a curly gefrens! 
It was too wide at first so I needed to narrow it a bit. Since I already cut the "sausages" I had to trim it by the fastening points. The cord isn't fastened in its original state so I could just pull until I got the length I wanted.

LESSONS/CHANGES
On the next one I know the width I need and I will also try and straighten the yarn for the fringe somehow. Although there are some pictures with a wavy/somewhat curly gefrens.. (pic above)

MATERIALS:
Ca 30cm wooden fringe (5sek/m)
Fastened with dark red Gütermanns sewing silk


3. THE FALSE BRAIDS
Having switched from "acceptable" hair colour to a soft pink.. and also lacking the proper length of hair.. I wanted/needed some fake hair, and not the synthetic kind..

I've always admired Elina's (Neulakko.net) linen flax braids so that's what I set out to make.

Finding linen flax.. that can be really REALLY expensive!! Unless you have a plumber supply store near by.. or in my case, Biltema ;)

Craft store: 4-600 sek !! 
Biltema:  VVS-lin 26,90-29,90 sek

The Biltema price made me ok with buying the flax just to try it and if it didn't work it wouldn't be the end of the world :)

I bought the roll with 80g of linen flax.
 
I divided the roll in two parts and then folded them so I had three "strands" that I could braid.
The smell is.. interesting.. so I left them hanging outside for a while.. I will make a lavender lined bag for them in the future though..
 
I held the braids folded) from slightly over my temples to decide on the length I wanted.. then I cut the extras off.. I could have calculated this to begin with.. but with such a tiny price tag I didn't bother!
I cut off a ribbon in proper length (I've misplaced my linen tape so this off white cotton had to do this time..) and marked where the braids should go.
Since I want to be able to adjust the braids to different hairstyles I'm not wrapping them together like Elina's or like the London finds (Textile and Clothing page 132). I will however make a linen flax cord for them so that I can wrap them when I want that look.
I chose to make mine much thicker than the findings too, but that's just the look I was after. (I also want to make a zopfe in the future too!)

If there are ANY doubts these braids are mine.. I added a little tiny invisible detail.. a winged skull 💀
You can also see the stitches better on the ribbon. I sewed tiny stitches straight through the braids to keep them in place.

LESSONS/CHANGES
I'm happy with these but I want a better ribbon next time.. perhaps even try to weave a silk ribbon!
Also contemplating making a wulst or zopfe with thick braids too.. easy material to work with, but it gets everywhere!!

MATERIALS:
80g linen flax (VVS-lin) 29,90sek (Biltema)
35/2 white linen thread Bockens (sold by me 55sek/roll)
Tiny bit of golden buttonhole silk


4-5. CIRCULAR LINEN VEIL AND WIMPLE
Done, post to come..
A circular veil and wimple
Elina Sojonen's - of neulakko.net - excellent post with simple pattern, the one I've used! (yes, she will be mentioned quite a bit throughout this blogpost because she's awesome at this!)

LESSONS/CHANGES
I want to make as pretty hems as her Excellency Aleydis..
No changes needed to Elina's excellent "pattern". Works GREAT!

MATERIALS:
1m (146cm wide) very thin almost silky linen
60/2 linen thread Bockens (sold by me 55sek/roll)


6-7. CIRCULAR WOOL VEIL AND WIMPLE
Cut out veil
Wimple done (by the Baroness Aleydis of Gotvik since she ran out of things to do at the sewing weekend I hosted..)

LESSONS/CHANGES


No changes needed to Elina's excellent "pattern". Works GREAT!

MATERIALS
:

1m (ca 146cm wide) wool muslin from medeltidsmode.se
Offwhite sewing silk from Gütermann

8. Veil pins

9. Birgitta cap with embroidery

10. Rectangular (long) veil

11. Wulst 

12. Steuchline (striped?)

13. New German hat

14. "Fruhätta" with fur lining

15. Open hood without lire pipe

16. Veil with sewn pleats

17. Frilled veil

(yes I know I said 15 but a wish list is just that.. a WISH list..)


YIS

Lady Æ

2014-05-11

The to-do-list just keeps growing and growing..

Finally got around to doing an inventory of all our garb to make lists (yes I do love my lists) of what needs to be mended, replaced and/or made..

We brought our pavillion home from Visby and need to measure it out again since we need new beds that actually fit.. T2 is too tall for the travel crib anymore :P so the girls need easy beds and we need a smaller one. We have a GREAT one but it's HUGE and weigh a ton!

To do (so I don't loose track):

Me:
  • Small linnen shift - sew shut the breast feeding holes..
  • Linnen shifts for working dress - mend both and replace the sleeves (I made them back in 2004 and have used them A LOT since then)
  • Red velvet sleeves - adjust to the new yellow 15th c work dress a bit tight though..
  • Yellow 15th c work dress - weave edges, fix the hemming, fix the sleeves and some other stuff..
  • Trossfrau - Mend lacing (replace with hooks and eyes?), some holes, ripped silk, slit the skirt(?)
  • Trossfrau sleeves - Mend and add lacing holes
  • Smocked shirt - finish smocking and hemming
  • Trossfrau hat - make a new since T1 got mine..
Not super important
  • Wimple - make a larger one
  • Birgitta cap - make a new one
  • Red Italian - make sleeves, pimp skirt
  • Moybog - adjust..? or sell it? or redo it for T1..
  • Whulsthaube - reduce the size
  • Red petticote - finally finish! Found the skirt part this weekend! it needs wings too.. made it in 2005..
  • English fitted gown - add more hooks in the front
  • London hood - press
Jacob:
  • Black hose - mend and make wedge
  • 14th c hose - make new (make pattern)
  • 15-16th c hose - make new? (make pattern)
  • Braies (brokor) - make new
  • Red doublet - mend  neckline, replace metal buttons with woolen? project for camp..
  • make 16th c shirt?
  • Black straight pants - mend
Not super important:
  • Blue jerkin - remake closure, it also needs it's wings and new buttons..
  • Make early tudor garb
  • 14th c headgear
  • Lacing vest - make one..?
T1: the 13 year old is actually fixing most of her stuff her self! *pruod*
  • Birgitta cap - make new
  • 16th c shirt - make?
  • Linnen skirt - make for trossfrau
  • 14/15th c dress - make?
  • Purple trossfrau - fix bodice, slit the back?
  • Purple trossfrau sleves - needs to be made and also add lacing holes
  • Dark red trossfrau - needs a hook at the skirt
  • Dark red trossfrau - sleeves needs to be made
  • Straw hat - mend and remove black ribbon
  • Apron - make new for kitchen duty
Not super important:
  • Waffenrock and hose for the war games
T2: found two boxes of T1s old dresses! they only need some alterations :)
  • Blue Italian 15th c dress - make new closure
  • Partlet - fix the side
  • Grey shift - add buttons
  • Pink princess - puff needs some TLC on the sleeves and the lacing in the back.. could use some mending if I can find the fabric
  • Viking apron dress - let it out somewhat.. 
  • Black 16th c sleeveless dress - the girls have decided that the dress will be turned into a Landsknecht.. so it needs pimpin.. and maybe a hat..
  • Viking kaftan - move the buttons and let the hem back down
Not super important:
  • Red English fitted gown and cap - will have to wait until this fall but needs a lot of work since I never totally finished it.. redo the bodice, pimp the skirt
  • Shift - make new?
Sell?
  • Green play dress - redo if I can find the fabric or put it away..
  • 16th c silk dress - make longer strings or put it away.. (it's not like we have a shortage of dresses)


and then there's the furniture and kitchen things to fix.. and put together

so.. TO WORK!

2014-04-30

The London hood

Working on my yellow 15th century dress for work (Kapitelhusgården i Wisby) I also wanted some type of headgear.

I've been wanting to make my own London hood for over 7 years now and drooling over everyone else's that struts by..

so.. I finally got around to it..

Research
Started with my books
  • Dress accessories 1150-1450
  • Woven into the earth
  • Medieval tailor's assistant
and some other ones I can't recall at the moment..

then went on to my beloved Pinterest where I added plenty of images to
I mostly wanted to find a hood with one colour on the outer layer and another on the lining.. nada zip nothing.. so.. scratch my idea of lining my dark red hood with a softer wool in black..


  1. Detail from L'Annonce aux bergers. Danse champêtre. Heures de Charles d'Angoulême, Folio 20V. French, late 15th century. (In colour: http://www.dancewith.co.uk/history/ladansechampetre.html )

  2. Ca. 1470 Dancing Peasants

  3. Boccaccio's Decameron, detail of Fiammetta (Italian for little flame)— pseudonym of Giovanni Boccaccio's beloved and muse, her real name may have been Maria d’Aquino.

  4. Tres Riches Heures de Duc Berry, 1413-1416. (February)
  5. Flemish tapestry 1460-7+ (rabbit hunting with ferrets) she has twirled the lire pipe around her head..
While looking through the pictures and the findings most of the hoods have a seam on top but none on the brim. The conclusion is that they are lined with the same type of fabric as the outer layer (see pic 3).

You can easily make the hood in different pieces but since I had enough fabric I chose to not have a seam at the top or at the beginning of the lire pipe but instead have it all in one piece (plus the gussets..).

The fabric at hand is a dark red melton wool from Medeltidsmode.
I really liked the lighter (yellow?) edge you can see in the colour version of no 1 (se above for link) and I had some lovely red linen thread given to me by my friend Renika.. so I decided to finally get some woven edges on a garb like Åsa vävare taught me last year.

The pattern
I've noticed that quite a few people choose to make their pattern follow the shape of the head..
I chose to go by the findings (links will come when I find them again..) and the more plausible idea of straight lines in the pattern.. the curvature is created by the gussets instead.. Saves fabric = cheaper (and you mostly see the hoods on peasants)

So I started taking my measurements and writing them down.. how low should the brim in front go, how wide do I want the brim to be, how long do I want the collar.. should I make it practical (cover my neck from sun/cold) or have it just touch my shoulders..?


This is my easy peasy pattern :)
My first pattern had a lire pipe of 100cm but then when I started drawing it out on the fabric I chose to go all the way to the end so the total length of lire pipe and hood = 150cm.

I wanted the the main hood to cover my face (good for cold and warm days in different ways) and I wanted a 7cm brim (the longer of the dotted lines). And tada! 30 by 30 cm.. crazy :P but it works!

Now to the length.. I decided I did want the longer collar so it would cover more.. out with the tape measure again and after some fiddling 43cm worked just fine for me.

I like patterns that are straight and that I can draw directly on to the fabric. It also means I don't have to keep track of WHERE I put the pattern.. (I also have an easy peasy Birgitta cap pattern that works the same way.. I showed it to Whilja and she made a blog post about it).

Now.. drawing the pattern on to the fabric you need to make a few small fixes.. The angles needs to be smoother between the hood and the lire pipe and between the collar and the brim.

For saving fabric place the gusset in the free square of the hood, fits perfectly :)

Since I wanted woven edges I only had to add seam allowance to the gussets, neck of the hood and the bottom of the lire pipe.

So.. after I've cut out all my pieces I make a 12 cm cut in the collar 6cm from the front edge (se pattern). This is where the gussets go.
I place the gusset underneath with as little seam allowance as I can and then whip stitch it to the collar (same on both sides) I then turn it over and whip stitch down the seam allowance on the inside.

I'm hand sewing with Kapitelhusgården's brass sewing needle and red sew silk from Gütermanns. So nice and smooth (silk will be available at Kapitelhusgården in the future too!).
I could have also used the bleached or unbleached linen thread prepped with beeswax.
After the gusset I sew the back of the hood and the lire pipe. I turn it inside in again and make a somewhat point at the end of the lire pipe.

Woven edges

I take my linen roll (you could probably do this with the thicker linen thread at Kapitelhusgården..) and use it as a measure to go round the hood. I add an extra 30cm just to be sure.

My rigid heddle made by Martin 15 holes and slots.
  • Make 15 lengths of the linen and tie a knot in one end 
  • Cut off the other end and thread the heddle
  • I tie a string/ribbon around your waist and pin a sewing tape to it (a ribbon or scrap fabric will do just fine.. nifty little things!). 
  • Pin the linen threads 5cm (or so) from where you want to start weaving on the hood.
  • Attach the other end of the linen threads to a chair using another string to hold it. As to not entangle all the long threads I use an alligator clip to hold them together (also so I don't need 2m space..) 
  • Pin the sewing tape (the one attached to your waist) to the hood, making it stretched and tight.
  • You don't need to fasten the thread you're weaving with (weft), just leave 5cm or so to fasten later
  • Start weaving!
  • You're weaving with a needle so that you can go through the fabric, make a weft, go through the fabric.. and so on..
  • Remember to separate the threads to keep the weave tight.
  • Don't use a too long thread for the weft it will only tangle up or brake.. I go by the length of my left shoulder to my right fingertips. Works great!
When it's time to finish weave as close to the starting point as you can, "weave" the weft back in to the weave to make it fasten and disappear. Do the same to all the other loose ends throughout. Same thing at the start/finish but you'll have 30 strings to tuck away.. patience is virtue ;)


I took one of the very popular classes by Åsa vävare, and this is my first try after the practice run with her last year.

After I finished the edging and tucked all the stray threads away it looked like this (it needs pressing though..)


(it's really hard to photograph red..)
Normally I would have my Birgitta cap on underneath and then pin the hood to the cap using some of the beautiful dress pins in my shop Silverstielk Emporium. The one in the picture is the Fleur-de-lis or Fransk lilja in Swedish. (I have an Etsy shop as well but it's resting until early fall when I will take the time to fill it up again)

Knowing me I will probably also add some pilgrim's badge, brosch or a dirty little somethin' somethin'.. ;) (also available in by/through my shop).


(let me know if you want me to illustrate my teachings better.. it's all in my head but you aren't so.. also feel free to ask me questions!)
-------------------------------------------------------------------------------------
P.S. ALL photos in this entry are mine, the pattern is mine too. Feel free to use it for your own needs but please ask first if you want to use any of my materials on your blog, hand out for a class, publication or likewise. Thank you for respecting me. D.S.

P.P.S. Making a new pattern/version of this hood with a tighter fit. But as for likeness to pic no 1 I still feel that it's spot on :) D.D.S.

2014-04-29

The peace in Knäred 1613

Last year I was contacted by my aunt's friend who works as a guide.
She had been given a new assignment because of the 400 anniversary of the peace in Knäred 1613.

She needed a complete garb to wear when giving guided tours and for visits in school.

http://www.laholm.se/upptack-laholm/evenemangskalender/400-ars-firande-av-freden-i-knared/
That is actually her in the garb I made in the first photo :)

On the 20th of January 1613 the two year Kalmar war ended at a cross road between Knäred in Halland and Markaryd in Småland. This historical event became known as the peace in Knäred and was celebrated on a large scale in 2013.

So.. I hit the books :)

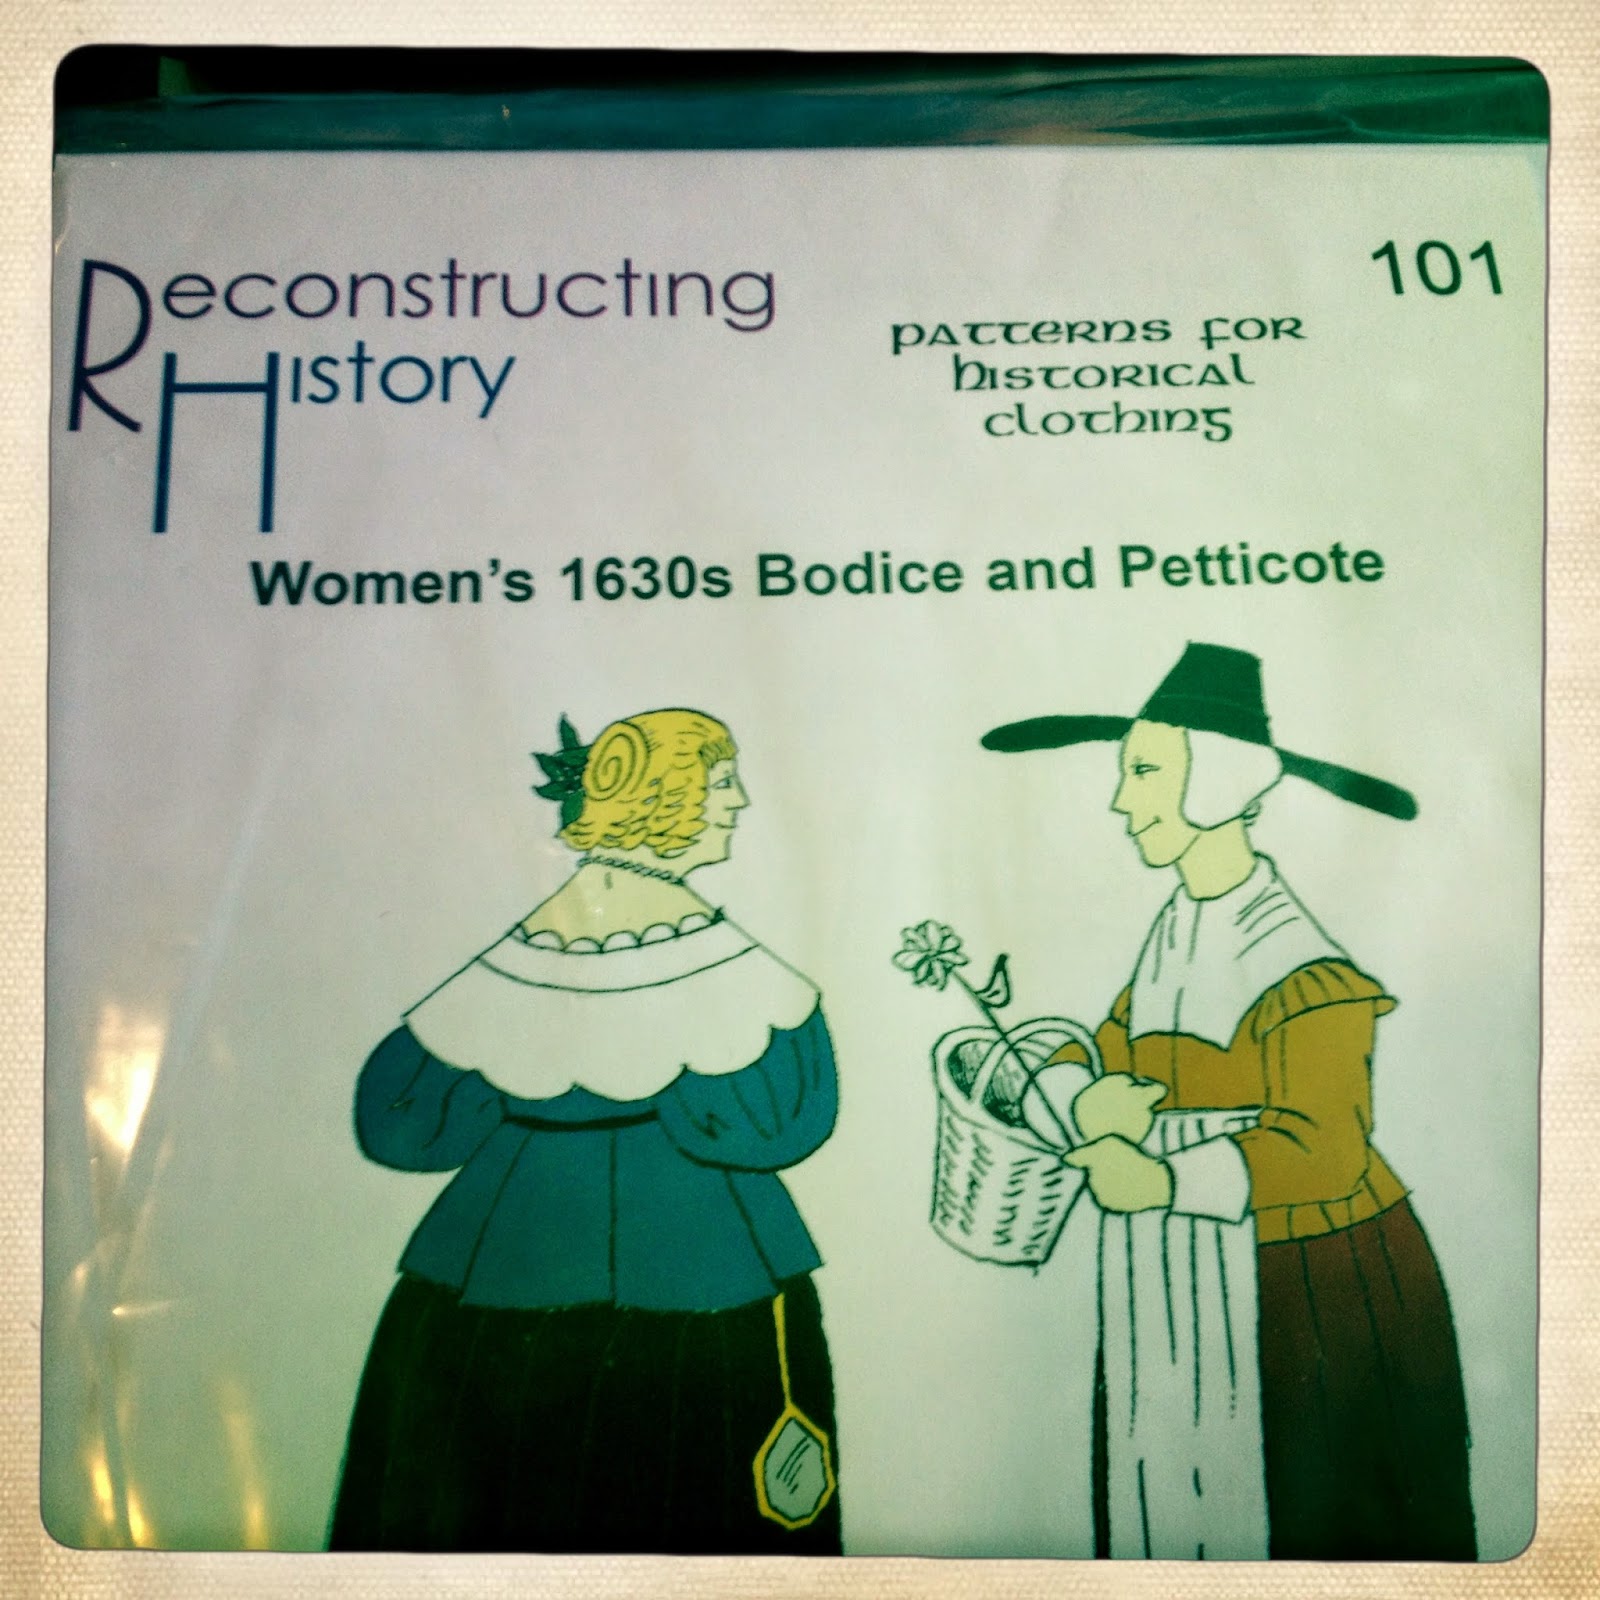
I mostly used information I found online and Janet Arnold's great books "Patterns of fashion" and I also bought pattern 101 from Reconstructing History.


When Lis came over the first time I had already prepared a toile (fabric pattern) for the petticote and then I took the rest of her measurements for the skirt. The skirt is made out of straight pieces and needed no pattern.
I sewed most of the petticote by hand even though I didn't have to, I wanted to.


I put old lace from late 19th century on the sleeves and covered the seams with satin tape. It also closes
with satin tape. (I have later on added some trouser hooks to keep the petticote together because the satin is slightly slippery)


The skirt was very straight forward. I cut a rectangle long enough to go around her waist and overlap by 10cm. I cut 2 pieces long enough from the waistline to the floor at the width of the fabric, sewed them together and pleated them to the waistband using boxed pleats.
I added velvet trim to the bottom of the skirt.

Well no 17th century lade would go around with a small bum so I had to make a bum roll. The one in the pic is my first try but I've now made a new one that is like a sausage ring that goes all the way round (and is more period). I did forget to photograph it though..

Hester Tradescant (from Patterns of Fashion no 4)
by Thomas de Critz 1645. Ashmolean Museum, University of Oxford.
Autumne, etching by Wenceslaus Hollar 1643.
The trustees of the British Museum. (from Patterns of Fashion no 4)

Patterns of Fashion no 4
1. Embroidered linen coif c. 1600-10. Middleton Collection, Museum of Costume and Textiles, Nottingham.
2. Embroidered linen coifc. 1610-20. Museum of Fine Arts, Boston
3. Embroidered linen coif c. 1590-1600 (National Museums of Scotland, Edinburgh) / 1610-15 (Burrell Collection, Glasgow) / 1610-20 (Burrell Collection, Glasgow).


Time for a collar and some type of headgear.. Back to the books.
I decided to make a standard linen coif but without the embroidery since that wasn't in the budget. Tried to find a patterned linen with a more swirly design but failed there too.. so I got a somewhat patterned linen to make the coif out of.

First I looked at all the photos there are of the 16-17th century type linen coif laid out flat.
Then  took a lot of meassurements on my own head to have some type of referense and then I mae a toile (as I always tend to do)

The second to last pattern (the cheek bibs were still too large.
I added a simple lace and lined the coif with a plain white linen.
The finished coif. Quite pleased! Have to make an embroidered one for myself (with the extra headpiece that goes on underneath).

You can find PLENTY of different instructions by searching on Pinterest *love* http://www.pinterest.com/search/pins/?q=elizabethan%20coif

You can find my boards there too http://www.pinterest.com/aelfwynne/

Customer Lis in her (almost) finished garb for 1610. The collar needs a large lace.. (sorry for the crappy pics..). When she's out in the schools the kids love her "duck but" (ankrumpa in Swedish)

It took me a total of ca 55 hours to complete.

2013-12-27

What is the meaning of the black ribbon?

well.. couldn't contain myself..

started researching young girls head attire in 16th century Germanic..

well..
mostly they have their hair let out and nothing on their heads or braided.. or a flower wreath.. perhaps a simple hat.. or the alluring little black ribbon..

Does it have a purpose? Is it a fashion statement?

Portrait of a young girl (presumably Magdalena Luther) by Lucas Cranach the Elder
Probably before , possibly 1528/29

At the moment I've just started researching and I've made a pinterest board (well ofcourse I did..)

You can find it here: http://www.pinterest.com/aelfwynne/garb-ideas-germanic-15-16th-c-girlsyoung-women/

Know what's up?

Please let me know :)

The mad hatter

Well.. me and my eldest daughter (T1 12yrs) are going to 12th night Coronation in Attemark..

For some time now she's been asking (pestering..) me about making her some landsknecht dresses..

well.. since she's outgrown her purple dress I thought it would be easier to start with redoing it and pimping it instead.. and I also got her some feathers for Christmas (she went SQUEEEEE!)

DONE:
  • Opening up the neck and widening the holes for the arms (?? lost my words there.. ärmhålet..)
  • Lengthening the dress (well.. have to lengthen it some more now..)
  • Removing the lacing (she hated it)
  • Remove the black trim on the bodice
  • Remove the sleeves that are too small and need Landsknecht-pimpin'
TO DO:
  • Pimp the sleeves (white poof poof)
  • Add lacing points to sleeve and dress for attachment
  • Lengthen it some more..
  • Add hooks and eyes to the front
  • Add new trim to the bodice
  • Slash the back (flower design she's made herself)
  • Make hat.. sorted that.. see pic below ;)
  • Make underdress
  • Make false collar
  • Make cap
  • Redo my old (too small) partlet to fit her
I've also told her that it's time she started making (at least parts of) her own garb.. ;)
Turns out my small hat fit her and her new feathers PERFECTLY!
Just need to remove some of my bling..

Well.. now I need a new hat instead :P To be honest.. the small one was a "temporary" one I made over 5 years ago and is too small for me anyway.. so I gathered some info on hats I like.. this time my inspiration was:

1. Hans Holbein the Younger Portrait of a Young Man, c. 1520/1530
2. 
Portrait of a young woman as allegory warning against foolishness and false love. Attr. to the
Master of the portraits of the Princes,1485-1500

3. 
Standing Woman Circle of Lucas Cranach the Elder  (German, Kronach 1472–1553 Weimar)
4. Rektorat von Werner Schlierback WS 1506. Basel, Universitätsbibliothek vol 1.


First sketches:
From above, underneath (with the silk filled brim) and the layout of the top bit..

My own lists before 12th Night Coronation

TO DO:
  • Sleeves
    • Find them :P
    • Mend the poof poof by the elbows (also make it harder for me to get caught in door handles all the time..)
    • Sort out a good attatch-to-bodice solution
    • Add poof slash bling to the top of the sleeves (? haven't decided yet) and thus hiding the attatch-to-bodice whoblah
  • Kampfrau dress
    • Mend the lacing
    • Mend the front seam in the skirt
  • Make new hat..
  • Make new wulst (smaller than the first one..) Got some excellent ideas from Viscountess Whilja thank-you-very-much!
Well you know I love pinterest.. so I created a new board for my 16th C garb project(s)
http://www.pinterest.com/aelfwynne/garb-project-16th-c-germanic/

And here's my 16th C garb colletion too:
http://www.pinterest.com/aelfwynne/garb-ideas-1500s/